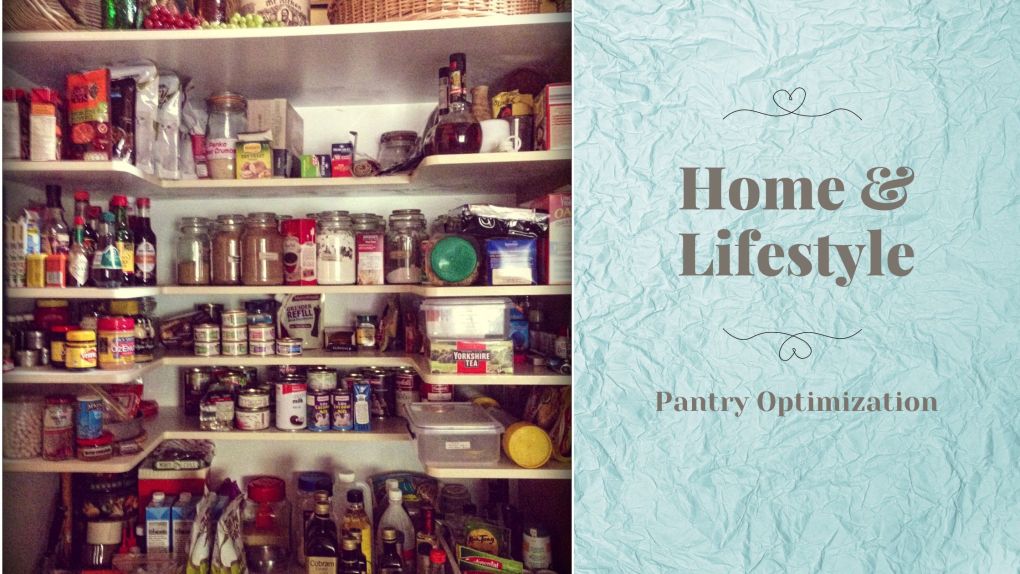
Why is it that the pantry often gets overwhelmed and out of control like the one in the picture? Let’s look at how best to regain control of your pantry for ultimate practicality and function.
Basic Rules:
- The pantry is not a showpiece, don’t expect it to be. It’s meant to be functional.
- The pantry has to be easily checked for inventory (i.e. shopping lists).
- The pantry must remain a hygenic storage area for food (check used by dates regularly, seal open packets).
- Don’t cross boundaries, store food here. Not chemicals, stationery, laundry or gardening gear etc.
Think Ergonomic:
- Work to the shelf heights available. If you’re lucky your pantry may have adjustable shelves. The rule is still the same. Taller products on taller shelves, shorter products on shelves with less height.
- Where possible locate heavier and larger items on lower shelves – items such as bags of dog biscuits, bottles of water etc. as well as back-up tetra packs of stock, juice or milk that don’t need refrigerating until opened.
- Remember that lower shelves are usually the coolest as they are not as close to the heat of the ceiling. Consider if the sides of your pantry are next to ovens or exterior walls that may get direct sun, you may want to put less perishable items to that side.
- Locate lighter items above head height. Should items fall off shelves there will be less risk of injury or breakage. Also a good area for baking products that may not be used as often or paper towel rolls.
- I also suggest using small tubs in higher shelves so that the whole tub or basket can be taken down, also better for removal to enable you to locate things at the back of shelves – use common sense and don’t pack any tubs or baskets too heavy.
- Glass jars and bottles should always be at eye-level, for safety.
Like with Like:
Boxed dried goods; Canned Goods; Bottled Goods; Condiments (includes sachets, stock cubes, packet mixes, sauces, vinegars, flavourings etc.); Baking Goods; Party food; After school snacks. Miscellaneous (i.e. paper goods, pet foods & less frequently consumed goods). You may also want to consider another method of grouping that’s becoming common, and that is according to meal preparation. For example a basket or bin for Asian or Italian meal makings, complete with some small laminated recipe cards. Especially helpful if the main cook of the house is ill or out of town and the other is not as experienced at making dinner. This can also be especially helpful for the elderly.
Working with shelf depth, and assigning space efficiently using pantry helpers:
- Taller items at the back, shorter items at the front.
- Use shelf steps and risers to split space vertically.
- Use baskets and tubs to separate categories, also useful for preventing spillage onto shelving and for easy removal to preparation areas and tables. The best way I know to avoid things being ‘lost’ at the back of deep shelves. While baskets may look prettier, plastic containers and trays are usually more practical as they are easier to keep clean, contain crumbs better, and usually take up less space than accumulated basket weave thickness.
- Old lunch boxes or take-away food containers without lids are great for filing sauce sachets etc.
- Utilise the inside of doors for spice racks – (check there is enough space between the shelf and the door once the door is closed and check that the door is strong enough to hold the weight).
- Likewise you may want to consider using pocket style accessory holders inside the door, for storage. The type that hook over the top of the door and are usually used in wardrobes.
- Use Lazy Suzannes (rotating platforms) where width allows and where reaching is difficult.
- Remember that square & rectangle containers allow for better stacking and use of surface space.
Lastly, you may want to either permanently or temporarily label the shelves and tubs to ‘train’ the rest of the family as well, but keep the groupings simple to follow never go too crazy with labels! Remember they are meant to be a guide, and not induce more stress.
Some great pantries I’ve come across …
I have been a fan of this pantry renovation by Emily the Decor Chick for a while now. It looks at conquering corner space with the use of home made Lazy Susan’s made to spec.
Another practical favourite is that done by Courtney of A Thoughtful Place, who utilises some very simple and reasonably prices organising products and labels to make her pantry more efficient.
A good demonstration of the use of door accessory hangers used on the inside of a pantry door from Better Homes & Gardens. (There are some other good ideas in this article).
For those who like to drool or are able to totally transform their pantry with a custom built option, you may want to look at these roll-out shelving systems by Roll Out and Shelf Genie.
Then there is a pantry I found on The Pantry of Joy, which not only has shelves built into the interior of the not two but four doors, but also has six layers of shelves spinning within the cabinetry on revolving shelves, below another deep shelf.
If you’re after some printable pretty labels check out these, again from Better Homes and Gardens.
For more ideas check out my other articles:
▪3 Kitchen Organising Tips
▪5 Groovy Kitchen Organising Products


